

Deschain
-
Content count
77 -
Joined
-
Last visited
-
Days Won
11
Posts posted by Deschain
-
-
Ice rod/fire rod/quarterstick are all working, as is fire sword, but doomstick doesn't appear to be using X-Zone anymore, just Doom. I've hit 18 Doom procs in a row, and 0 procs of X-Zone
-
15 minutes ago, Mishrak said:Deschain:
basically when it's doing the throw animation against a non-flying (?) enemy, instead of doing the "return jump" animation, he does the throw animation... from where his sprite usually is on the battlefield
so he just never does the returning jump animation
This happens against all non-flying enemies, but does not happen against flying enemies. So it ends up with an invisible Mog on the battlefield. He can still attack and be attacked, and he can even do the blocking animation, but his sprite isn't there. If he then Jumps again and gets a non-throw, his sprite will return.
-
 3
3
-
-
Man eater: doubles damage against humans while jumping
Zantetsuken: cleave still happens while jumping
Monet Brush: jumping heals and casts shell on the enemy
Switchblade: steal happens while jumping
Boomerang: does 3x damage against flying enemies while jumping, but this does NOT stack with the 1.5x damage from jumping. That is, if a Boomerang Fight does 200 damage, and a Boomerang Fight Throw does 600 damage, the Boomerang Jump will do 300 damage, and the Boomerang Jump Throw will still do 600.
-
4
-
-
I have tested every piece of cover, except Magitek and Charm. Here is what I found:
Cover frequency affected by Stamina: Yes
Cover disabled in back row: Yes
100% Cover rate if target Near Fatal: Yes
Cover is disabled if Golem is active: Yes
Cover disables Defend: Yes
Bug: Defend stance isn't reset (graphical only): Yes
Cover disabled on KNIGHT'S status:
Blind: Yes
Berserk: Yes
Image: Yes
Magitek: Untested
Muddle: Yes
Sleep: Yes
Death: Haha, yes
Stone: Yes
Zombie: Yes
Clear: YesCover disabled on TARGET'S status:
Image: Yes
Magitek: Untested
Death: Yes
Stone: Yes
Zombie: Yes
Clear: Yes
New behaviour of Smart Cover, in order of priority:Attack initiated via player input: Disabled (yes)
Attacking self while Muddled: Disabled (yes)
Attacking self while Zombied: Disabled (yes)
Attacking self while Charmed: Disabled (Untested)
Attacked by teammate with a healing weapon while Muddled: Disabled (yes)
Attacked by teammate with a healing weapon while Zombied: Disabled (yes)
Attacked by teammate with a healing weapon while Charmed: Disabled (Untested)
Attacked by teammate with absorbed/nulled element while Muddled: Disabled (yes)
Attacked by teammate with absorbed/nulled element while Zombied: Disabled (yes)
Attacked by teammate with absorbed/nulled element while Charmed: Disabled (Untested)
Attacked by Muddled teammate: Enabled (no)
Attacked by Zombied teammate: Enabled (yes)
Attacked by Charmed teammate: Enabled (Untested)So, basically, the only thing that was not working as intended is the following:
When a muddled ally attacks a non-muddled ally, then the knight is supposed to block it. However, the knight will only block it if BOTH the attacker and defender are muddled, and will not block it if only the attacker is muddled! So it's the opposite of the intended behavior. But only in that case. Everything else, as far as my testing shows, is working as intended.
-
4
-
-
6 minutes ago, SirNewtonFig said:Is it possible that it's just the one Cerberus counterattacking twice? They're double hitters, if I recall, just can't recall if they double hit as a spell counter.
I noticed a couple of really minor hiccups yesterday when playing through Locke's scenario that I didn't recall noticing before. Both were in the rich family's house — the first was a brief pause (maybe 0.5-0.75 of a second?) as I entered the drafty bedroom, and the next was right after that when I got downstairs. They almost seemed like they could have been music-related, as I think they coincided with the BG music transitions to and from the wind track. Playing on snes9x for Mac, if it matters. Not likely worth fussing over, but thought I'd put it out there anyway.
No, because it happens even when fighting a Cerberus and a Nastidon. If you kill the Cerberus early, then use an X-Zone proc on the Nastidon, the Cerberus still counters or uses Red Fang from beyond the grave.
-
Stamina cover seems to be working.
Method: Changed Cerberus to be level 1 so it does 1 damage, put Regen on all characters so they were always at max HP.
Cyan with 81 stamina covered 54 attacks out of 150, or 35%
Cyan with 36 stamina covered 31 attacks out of 135, or 22%
Stamina counter seems to be working as well:
Cyan with 64 stamina countered 39 out of 50 attacks, or 78%
Cyan with 36 stamina countered 33 out of 57 attacks, or 57%
-
3
-
-
Played through everything up to Fanatic's Tower. No bugs so far, except the following:
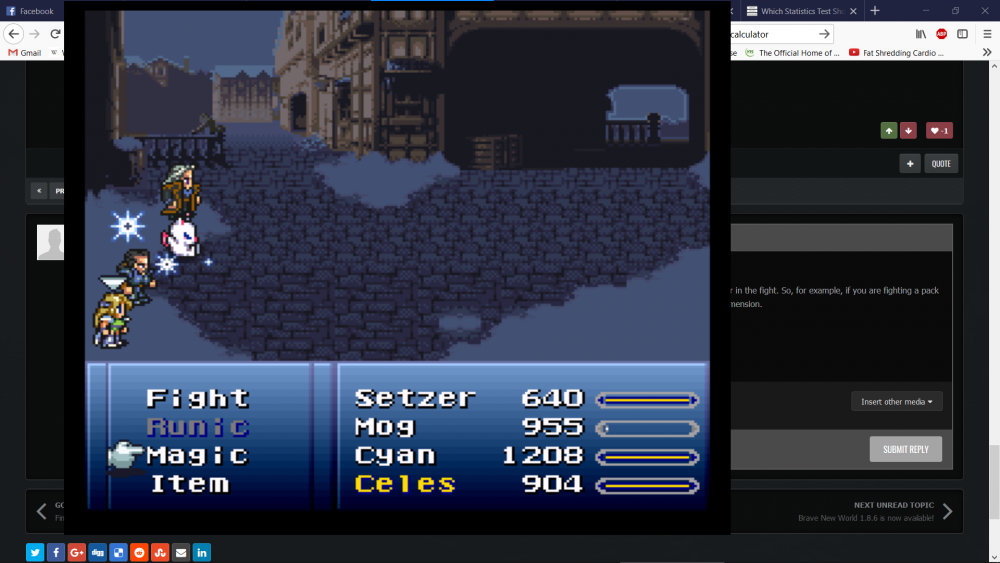
Specifically when using the X-Zone proc from the Doomstick, dead enemies still counter-attack. This happens whether they died from X-Zone, or whether they died earlier in the fight. So, for example, if you are fighting a pack of 2 Cerberus, you kill one on turn 1 with Doom, then a few turns later, you attack with a Doomstick and it procs X-Zone, both Cerberus will counter-attack from the X-dimension.
This does not happen with the actual X-Zone spell, just the rod proc.
-
3
-
-
I'm off work for two weeks starting Friday and am ready to make sure the next RC is Gau-rage-and-other-bugs-free!
-
1
-
-
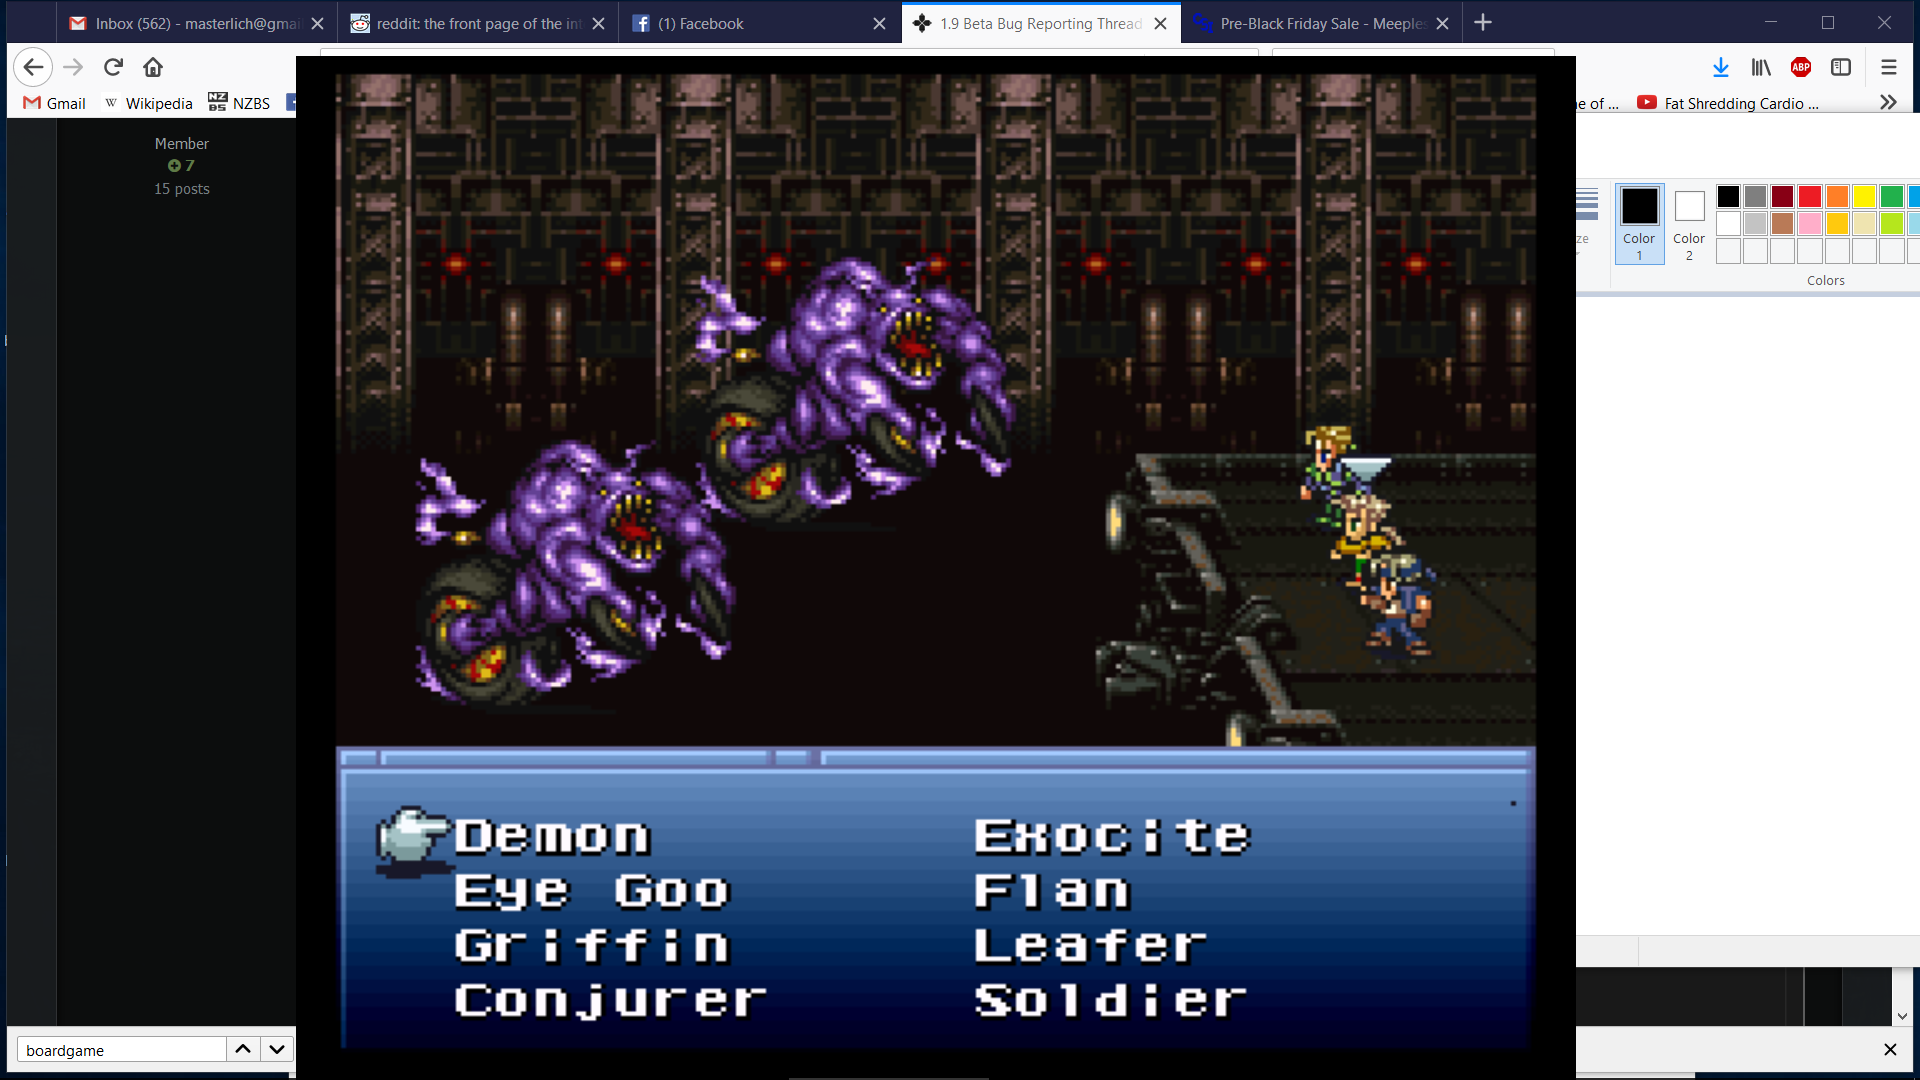
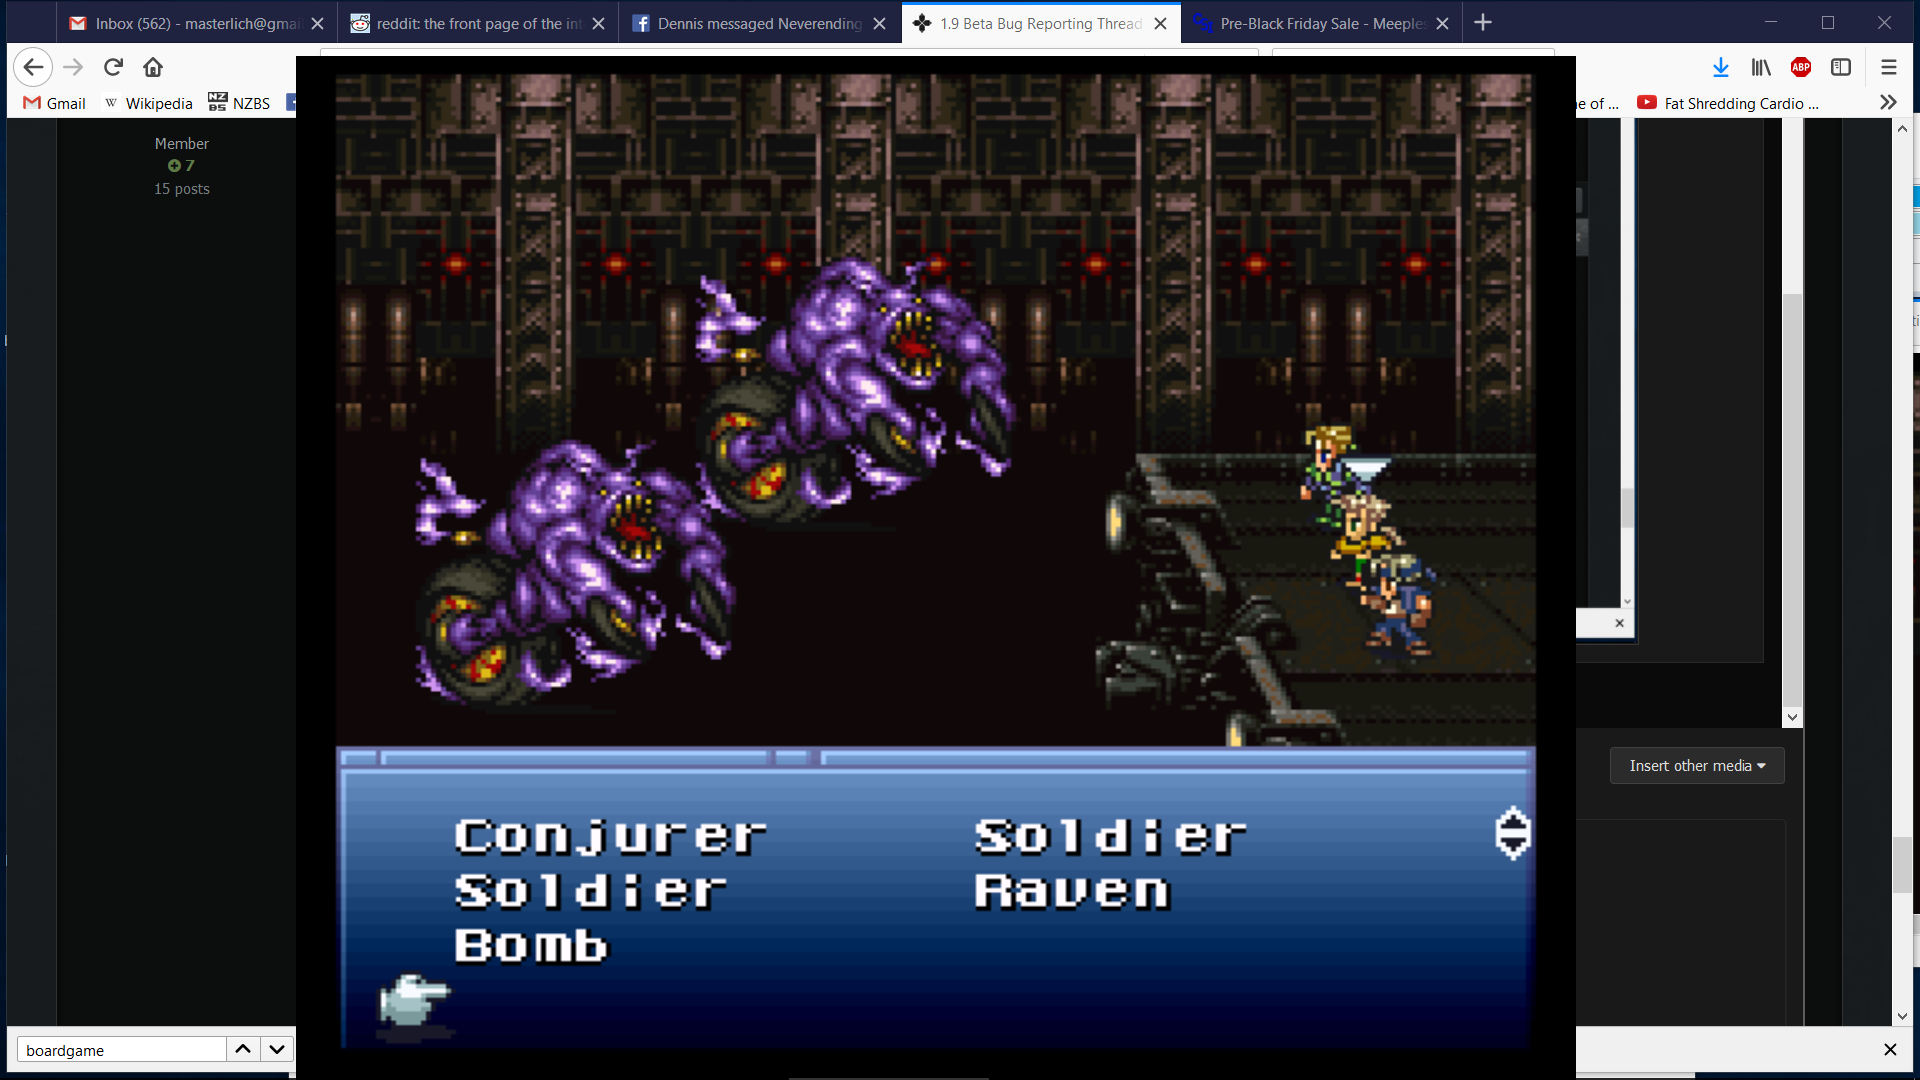
Also confirmed, both sets of rages are functionally identical. Choosing the Bomb at the top or the Bomb at the bottom both cause him to become a bomb.
I'm starting over a fresh save file (instead of a file from RC11) to see if it still happens.
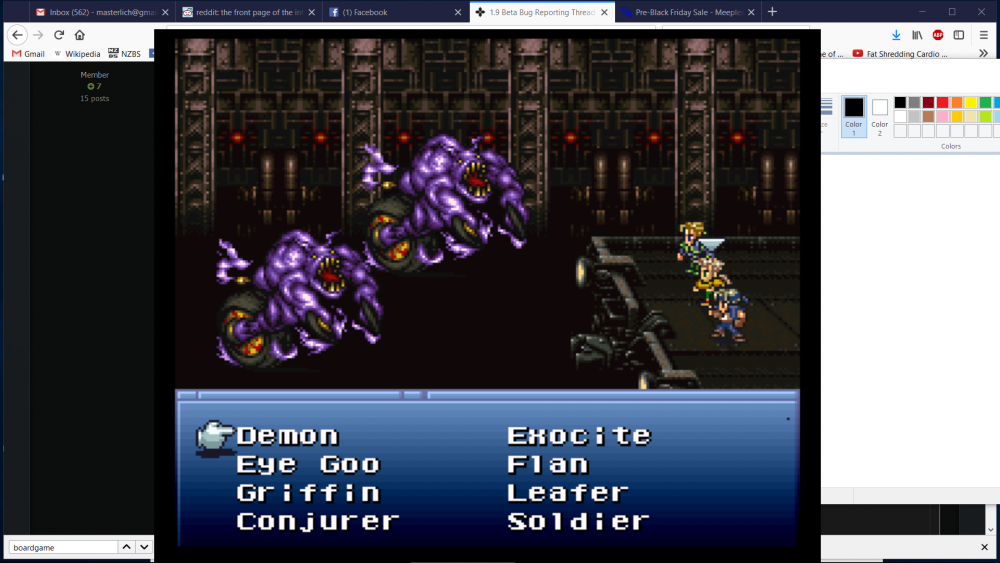
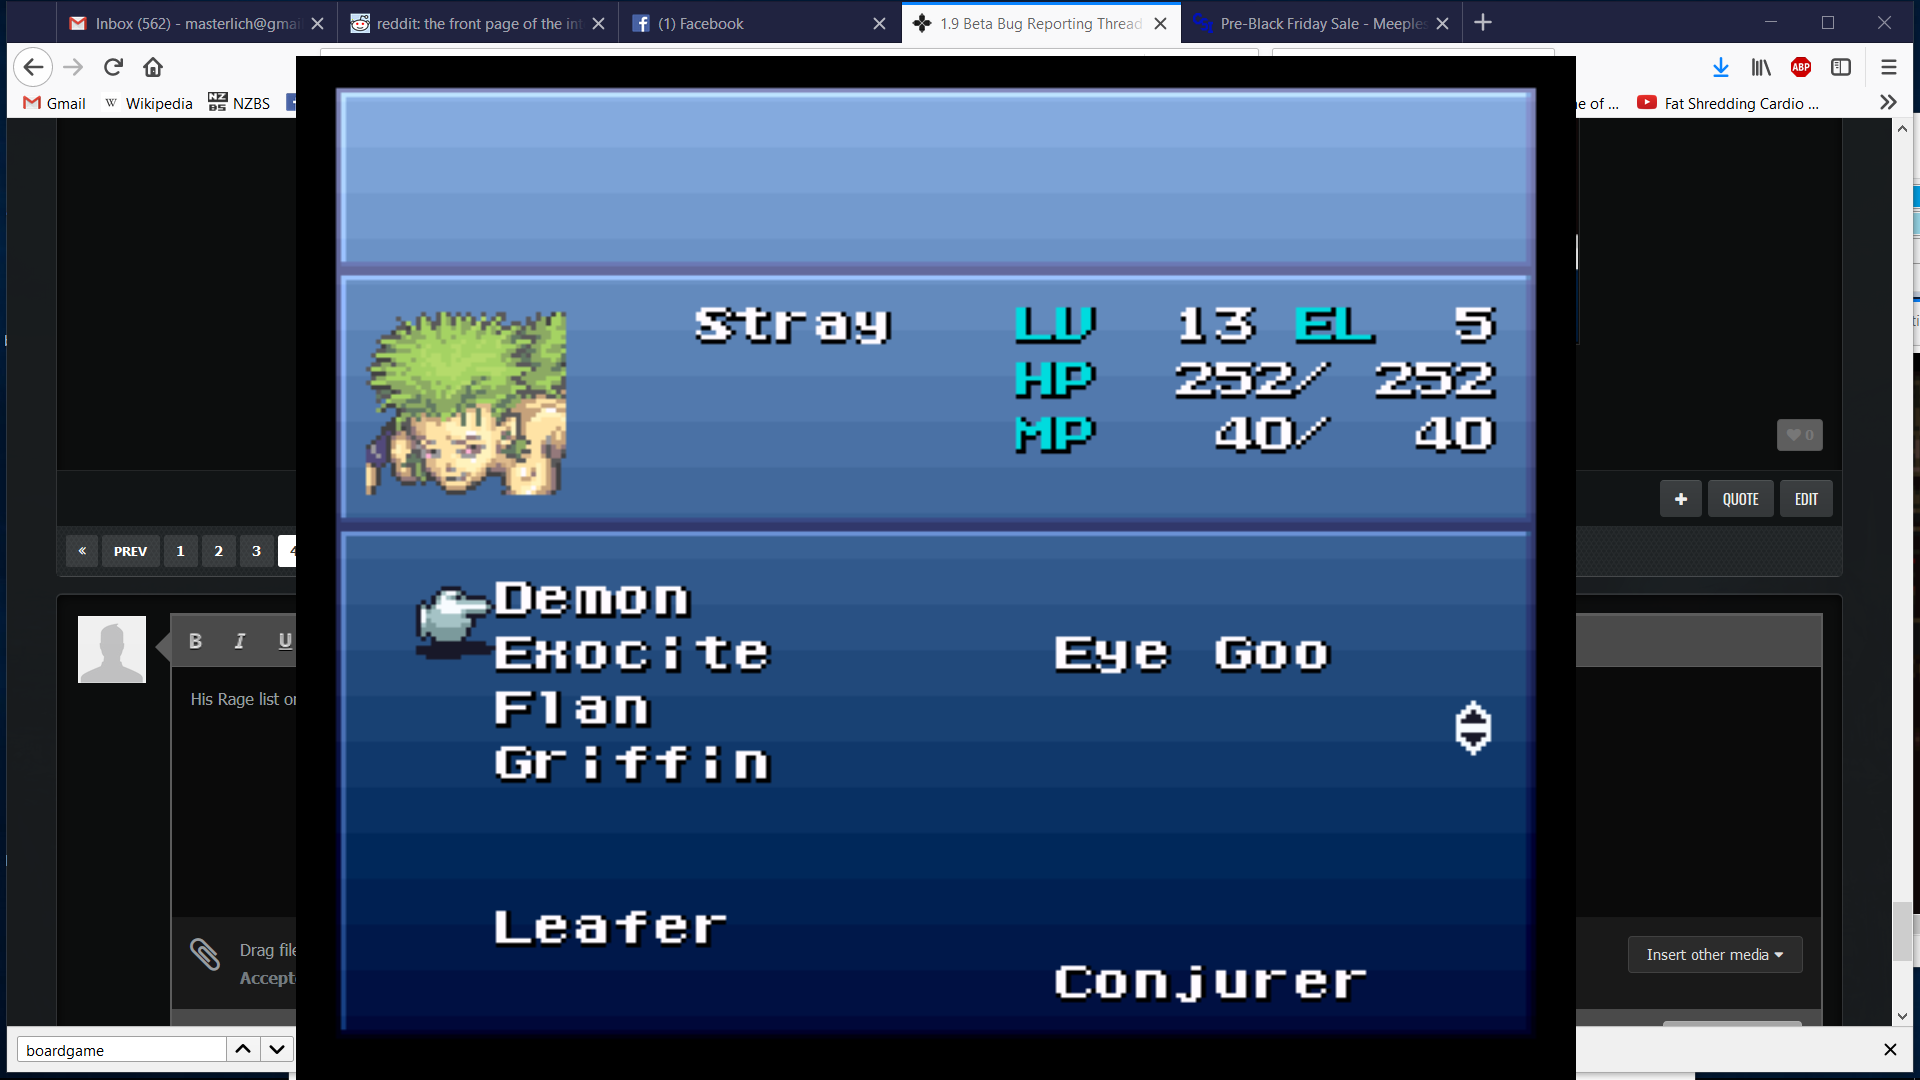
Edit: Confirmed, started fresh file, got only Conjurer. Skills page and battle menu both have it listed twice.

-
His Rage list on the Skills screen is a little messed up too. Not as messed up, the only thing that's repeating is Conjurer, so I'm not sure why Soldier/Bomb are also repeating in the battle menu.

-
Spell condensing is working, but there's a weird bug with Gau's rages. I don't know if this is from using a save from RC11 (I patched RC12 onto a vanilla ROM and then used my RC11 save) but this is happening, and definitely didn't happen in RC11:
Spoiler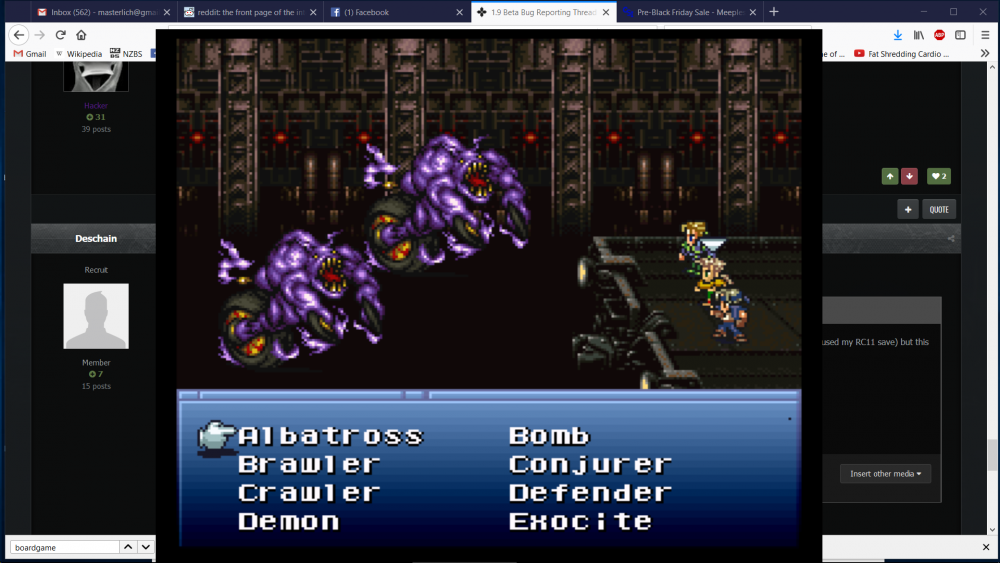

-
50 minutes ago, Synchysi said:Quick update - I did find the offending patch, but I haven't had time to fix the problem. I'll try to get to it today so I can put out the next RC.
My hero <3
-
Confirmed that RC8 does not have the relic bug and does not have the timer bug, while 9 does, so the changes from 8 to 9 is what introduced both of them
-
Minor bug with equipping relics. Happens all the time with relics, but doesn't seem to happen with equipping armor.
Spoiler
equip a relic

goggles are now equipped, but the stats don't update and the relic doesn't show as equipped until you hit cancel or change screens

-
This may be related to Seibaby's cover fix: if I remember correctly, he changed something about hit detection when he made his fix to halve evasion while covering.
-
2
-
-
3 hours ago, Synchysi said:That was a stupid patching job on my part. This one should work.
(If you're getting a 404 not found link when you click this, change RC7 to RC8 in the URL)
-
Only bug I've found so far, the Dragon Helm room in Figaro Castle has a grassland background:

-
2
-
-
Suggestions for Fenrir Shadow:
Fenrir is more of the support build of Shadow, and "Shinobi" is really just another word for Ninja, so replace that class name with Saboteur and focus more on the ninja's historical role of spying/sabotage/subterfuge, some possibilities being:
Shadow's knives/shurikens can set poison/sap (it's weird that ninjas used poison all the time but the party's actual ninja can't)
Gray magic has no cast time
Phoenix Downs use the Life spell as their effect
Fight doesn't cause counter-attacks, or causes them less often (Ninjas should be able to attack from the shadows and not get countered or they're not very good ninjas)-
2
-
-
I actually believe if I had had Eclipse in Dragon's place, it would have made Cyan even stronger. In my playthrough, his single-target damage was already excellent, the only thing he was missing was AOE damage. I wouldn't even have really missed Dragon, because with a Power Glove equipped Cyan's Flurry was doing comparable single-target damage. My two cents is that one of three things needs to happen to Cyan:
1) He needs to have less survivability
2) He needs to have less BPow
3) He needs to cover/counter less often
#1 would work because right now, he can cover pretty much any number of attacks and be fine even with minimal gearing for survivability. If he were less innately survivable, he would need to gear more for survivability, which would nerf his damage output. #2 would work because the amount he counters would be fine if his counters didn't do so much damage. #3 would work because the amount of damage he does scales pretty absurdly with how often he counters, so if he countered less often, that wouldn't be such an issue.My personal opinion is that #2 is the best option. He is a retainer, so it makes sense that he is innately good at defending. If he wants to also be good at attacking, he should need to actively enhance it.
(Note: I know cover/counter has been nerfed between RC4 (what I played) and the current beta, and it's possible that the change that covering halves evasion may have been enough to render this post moot. We will have to test to see)-
1
-
-
Some quirks I've found with cover so far:
When you muddle an enemy, and that enemy is attacked by another muddled enemy, you cover the muddled enemy. That is: Enemy #1 and #2 are both confused. Edgar has Knight Cape. Edgar will block attacks from enemy #2 onto enemy #1, or from enemy #1 onto enemy #2. Edgar will NOT block attacks from an ally onto enemy #1 or #2.
Allies who are in critical will cover allies who are not.
-
1
-
-
Still has the same bug with Y-equip I posted about higher up
-
More updates: Gogo has Throw even if Shadow dies
Soul Box does halve MP on sword procs
The printme lists Giga Volt as lightning, but it's actually wind/lightning
-
I'm using Celes to Life Setzer/Edgar/Sabin. It's consistently restoring 170-190 to Setzer and Sabin, but 1400+ to Edgar. This is true even if they're all naked.
(Note: I used FF3USME to give them all 90 stamina/magic and 255 MPower, that may be affecting it.)
Also, empty enemy encounters happening in Gogo's save room too.
-
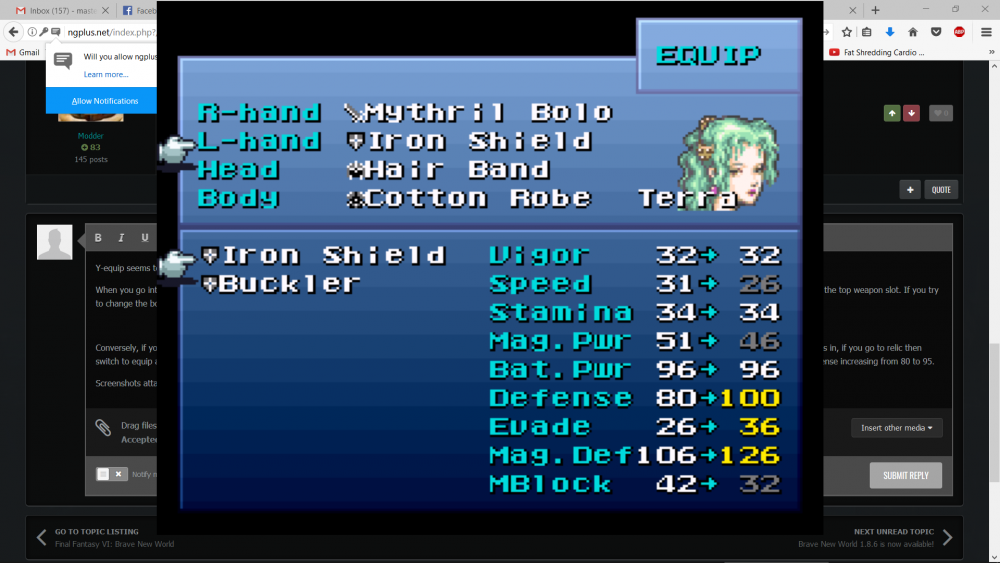
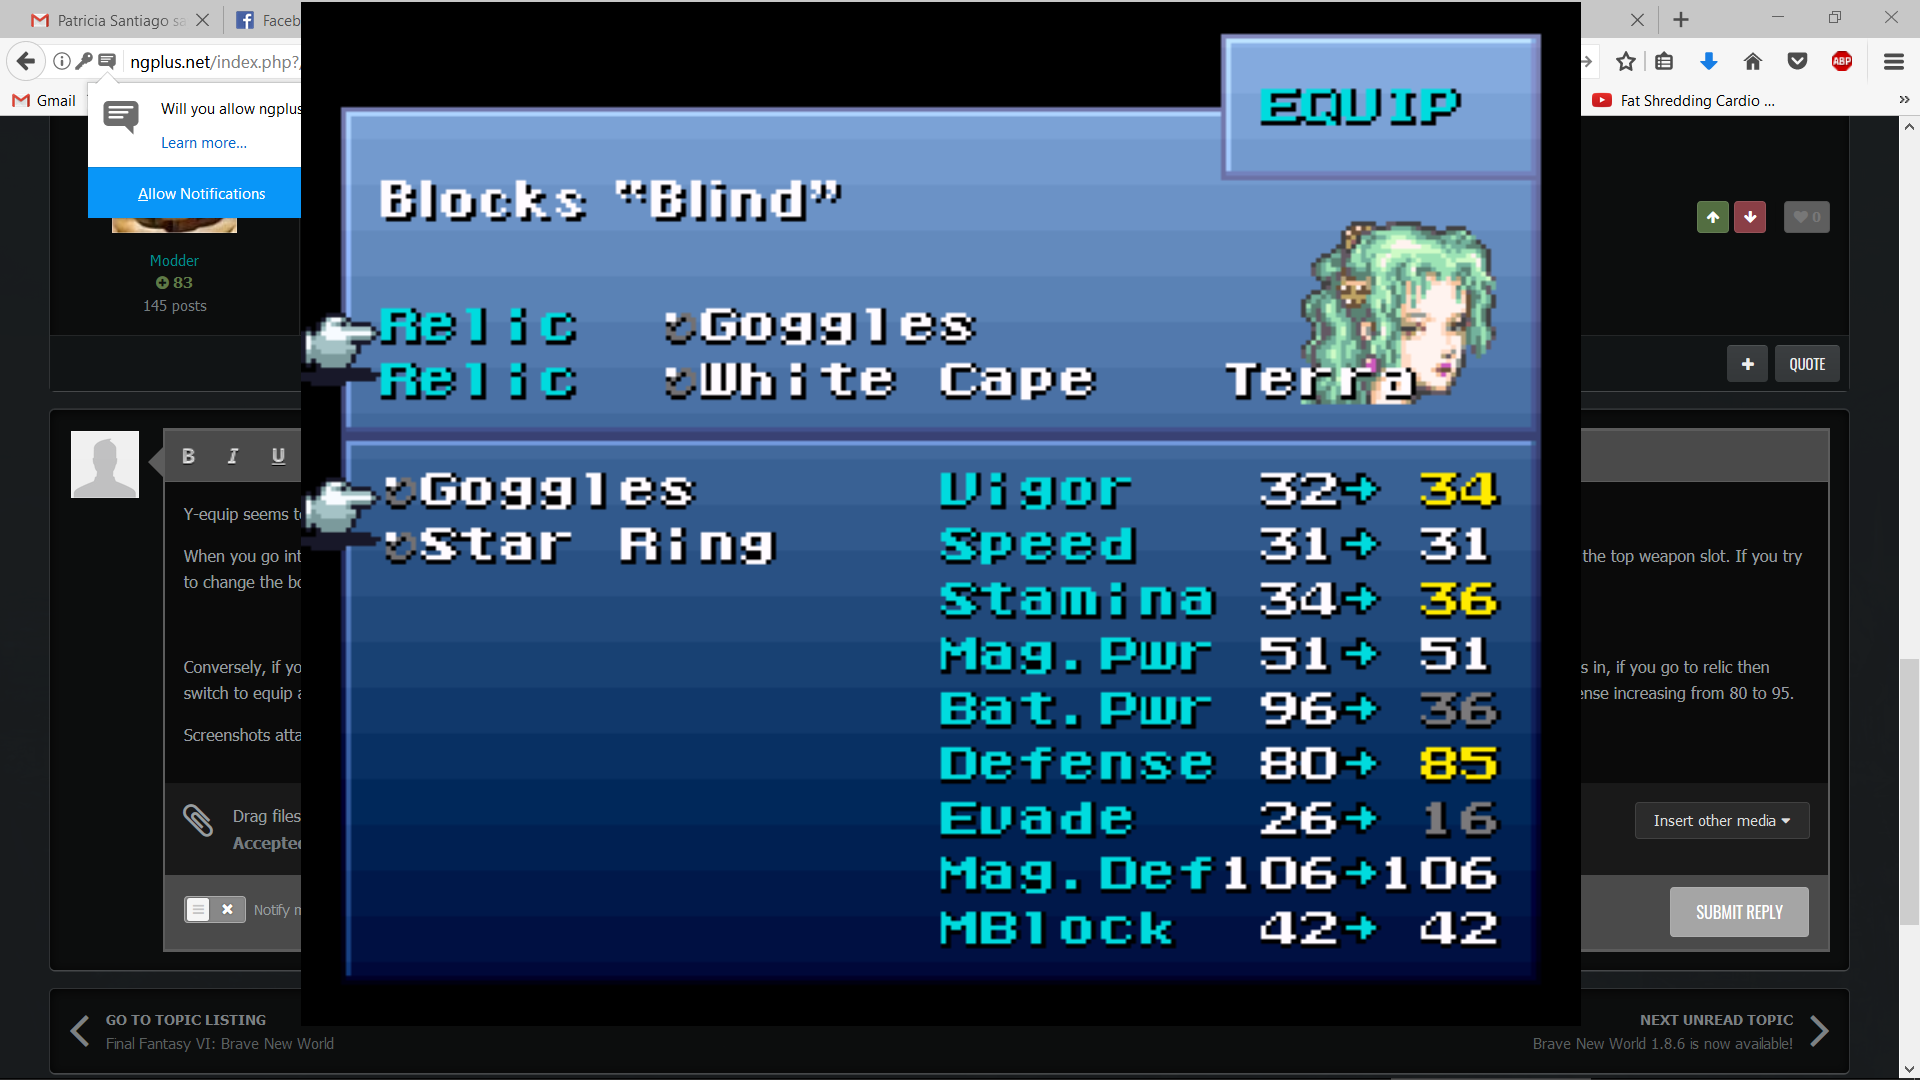
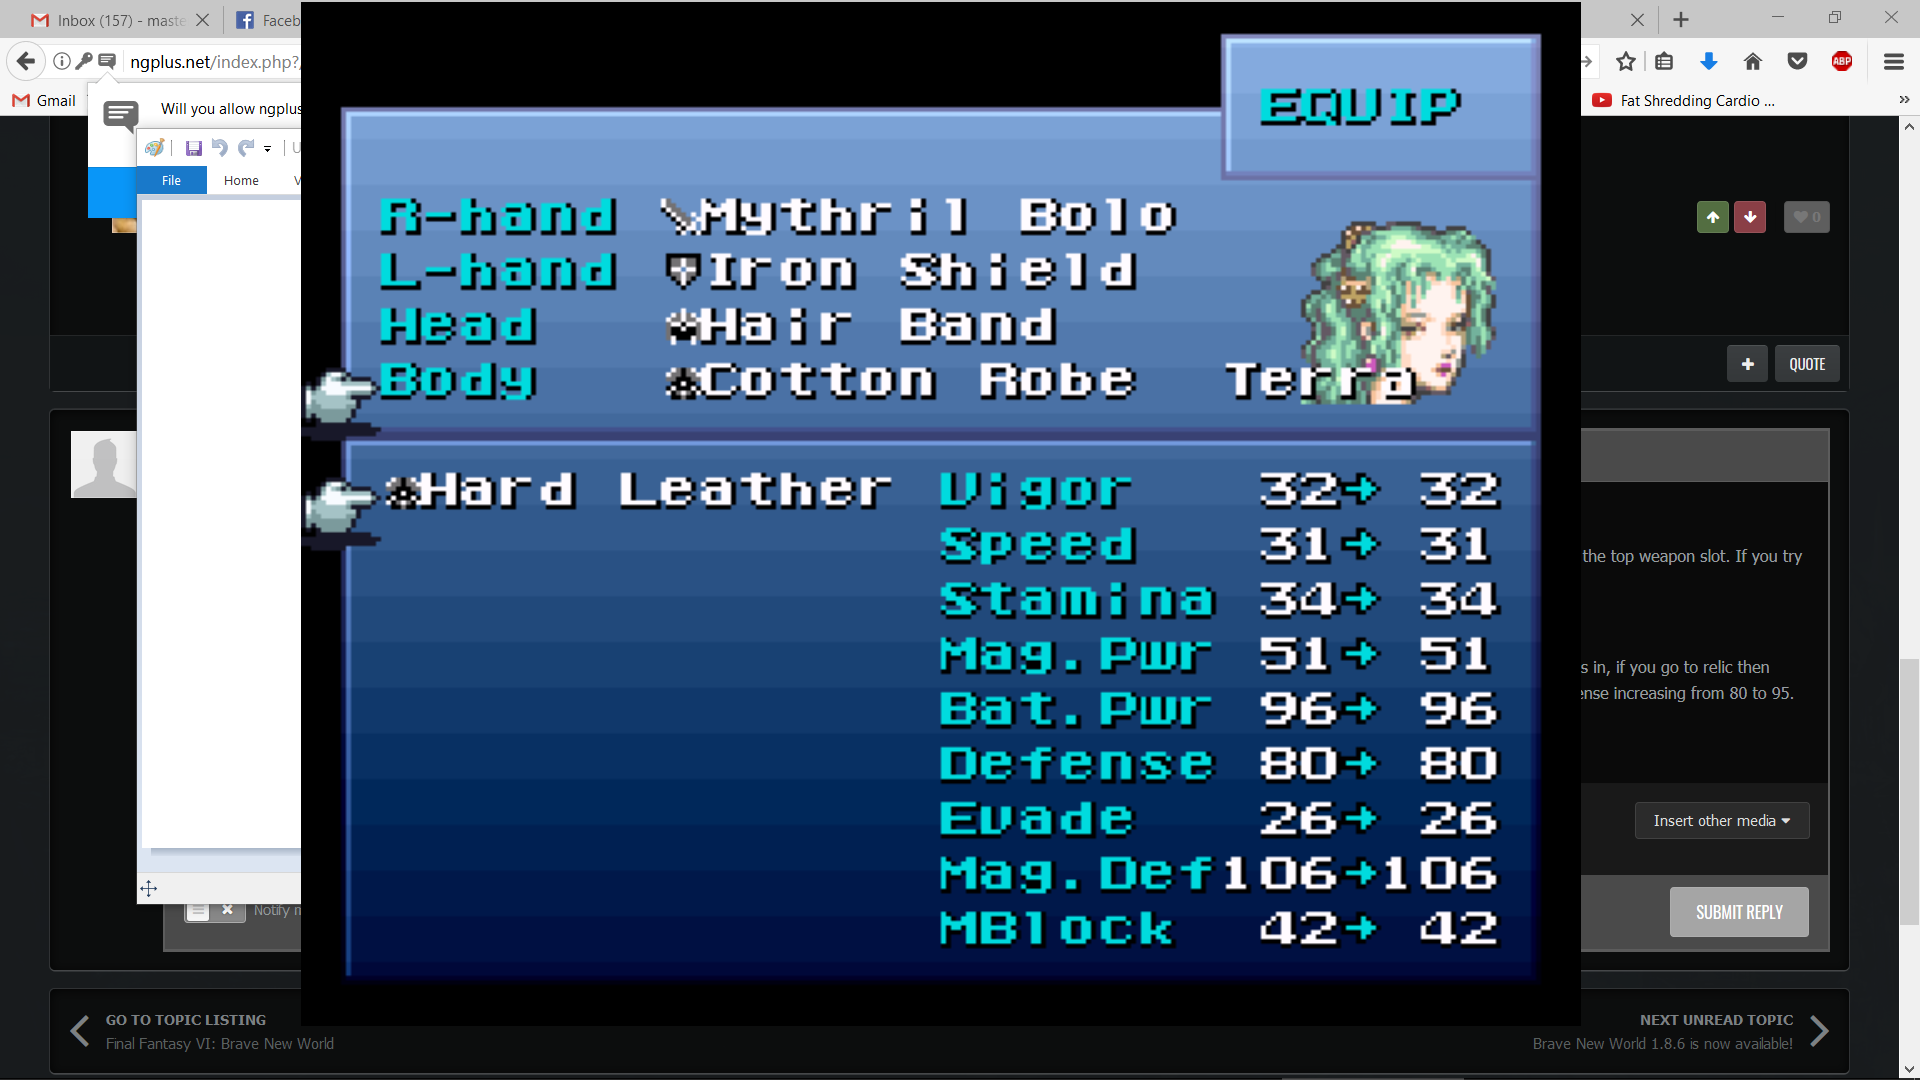
Y-equip seems to have gotten a bit glitched:
When you go into the equip menu, and then Y-equip switch to the relic menu and try to change the top relic, the "new stats" pane shows your new stats as if you are unequipping the weapon in the top weapon slot. If you try to change the bottom relic, it shows your new stats as if you are unequipping the weapon/shield in the second slot.
Conversely, if you go into the relic meu and then Y-equip switch to the equip menu, the third and fourth slots don't show the new stats, and the first and second slots double-count themselves. As in, if you go to relic then switch to equip and try to equip an Iron Shield over an Iron Shield, it will show your defense increasing from 80 to 100, and if you try to equip a Buckler over an Iron Shield, it will show your defense increasing from 80 to 95.
Screenshots attached.
Spoiler

-
1
-


1.9 Release Bug Reporting Thread
in Final Fantasy VI: Brave New World
Posted · Edited by Deschain · Report reply
Testing the random encounter patch. Counted every single step in between battles. Avoided all forests. The first half before the break is for v3 of the patch. Seibaby then made an adjustment, the second half is for v4.
Basic summary of results: looks like it's working now!
Shit, can't upload Excel, so here's a screen shot of v3 (boxes 1-19) and v4 (boxes 21-45)